EV Charger Installation Day: What Actually Happens and How Long It Takes
A walk-through of the entire process, from the van arriving to you plugging in for the first time.
7 min read
UK guide · London & Essex focus
You’ve booked the installation. You’ve cleared the driveway. Now you’re watching the clock and wondering what the next few hours actually look like. Will they need to drill through three walls? Will the power go off? How long before you can plug in and drive away?
We’ve installed hundreds of EV chargers across London and Essex. Most installs follow a predictable pattern. Some take two hours. Some take six. Here’s what determines the difference, and what you’ll see happening in each phase.
Before the Van Arrives: What We’ve Already Done
By the time we pull up, we’ve already completed a site survey. That’s either a physical visit or a detailed remote assessment using photos and your distribution board details. We know where the charger’s going, where the cable will run, and what size supply you’ve got coming into the property.
For OZEV grant-funded installs (up to £350 for homeowners, up to £15,000 for businesses), we’ve submitted the application and received approval. That paperwork’s done. You don’t see it, but it’s why we can start work immediately rather than standing around with clipboards.
We’ve also loaded the van with the right charger, the correct cable length, the MCB and SPD for your board, and any trunking or conduit we’ll need. If your survey flagged something unusual, an old Wylex board that needs upgrading, or a run that requires SWA cable buried underground, we’ve planned for it.
First Hour: Survey Confirmation and Setup
We arrive. First job is a final visual check. The survey was accurate, but things change. Someone might have moved the bins, or you’ve had a new fence panel fitted, or there’s a car parked exactly where we need to work. We adapt.
Then we confirm the cable route. If you’ve got a detached garage and the board’s in the house, that’s a longer run. If the charger’s going on the wall two metres from your consumer unit, it’s straightforward. We’ll show you where the cable will go, through the wall, along the eaves, down the side return, and check you’re happy before we start drilling.
We isolate the supply. Your power goes off for part of the install. How long depends on the job, but typically 30 to 90 minutes. If you’re working from home, plan accordingly. Kettle’s off. Router’s off. Fridge stays cold, but don’t open it.
Core Install: Running Cable and Mounting the Charger
This is the bulk of the work. For a straightforward install, charger on an external wall, consumer unit on the other side, short cable run, it takes about two hours. For a longer run or a tricky route, add another hour or two.
We drill through the wall. If it’s a cavity wall, we use a core drill and seal it properly. If it’s solid brick (common in Victorian terraces across E17, E11, and older parts of Romford), it takes longer. We don’t rush it. A bad hole means water ingress and problems in two years.
Cable gets clipped or run in trunking. If it’s going across a facade, we use black or white PVC trunking to match your wall. If it’s running underground to a detached garage, we trench it and lay SWA cable at the correct depth, 450mm minimum under a path, 600mm under a driveway. That’s BS 7671 regulation, not optional.
The charger itself mounts on a steel backplate. We level it, fix it with heavy-duty anchors (not plugs, anchors), and connect the cable. Then we fit the protective devices in your consumer unit: a dedicated 32A or 40A MCB, depending on the charger, and a Type A RCD or RCBO. If your board’s full, we might fit a small separate enclosure next to it. If your board’s ancient and doesn’t meet current regs, we’ll have discussed an upgrade during the survey.
What Adds Time
- Long cable runs: Anything over 15 metres takes longer to install and test.
- Awkward access: Charger on the side of a semi, cable running through a kitchen, then a utility room, then outside again.
- Older properties: Solid walls, no loft space to run cable through, listed building constraints in conservation areas.
- Board upgrades: If the survey identified an old fuse board or insufficient main fuse size (anything under 60A is tight for a 7kW charger plus normal household load), we upgrade it. That adds 2, 3 hours but it’s necessary.
- Underground runs: Trenching, laying duct, backfilling, and reinstating paving or turf. Budget half a day if you’re running 20 metres to a garage at the bottom of the garden.
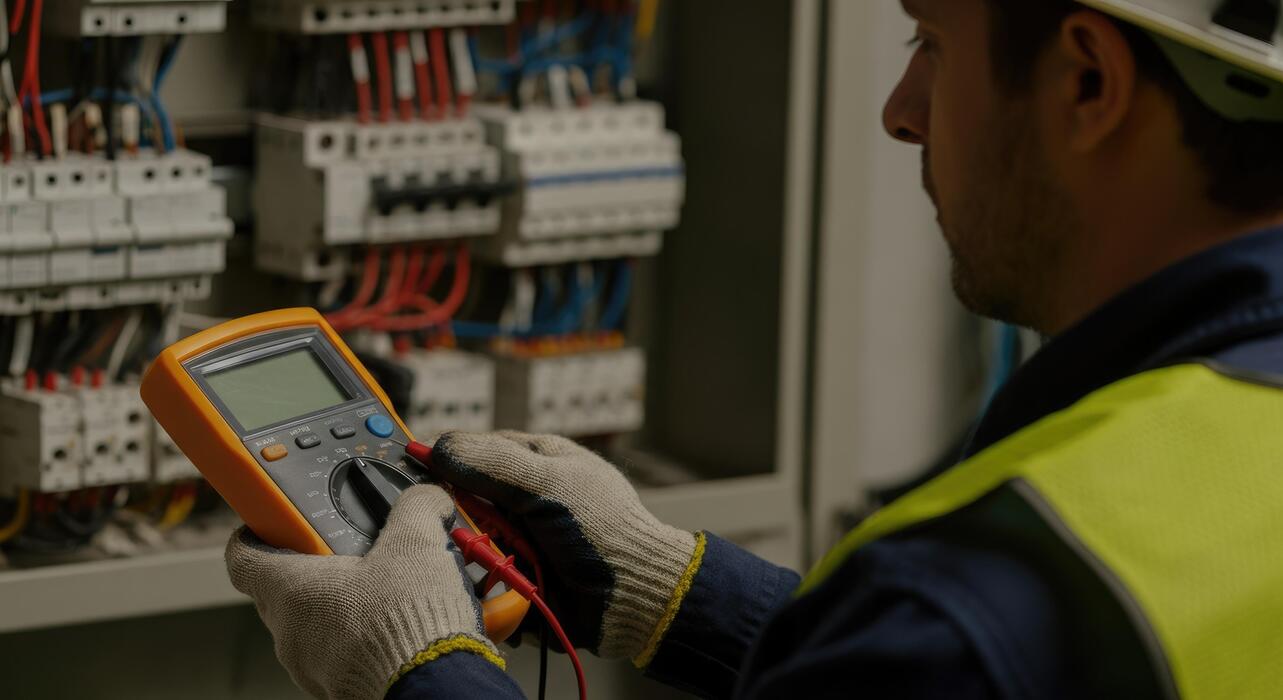
Testing and Commissioning: The Bit You Don’t See
Once it’s wired, we test everything. This isn’t a quick button press. We’re checking:
- Earth loop impedance (Ze and Zs values within acceptable limits per BS 7671)
- Insulation resistance on the new circuit (minimum 1 megohm, usually much higher)
- Polarity, live, neutral, and earth all connected correctly
- RCD trip time under fault conditions (must trip within 40 milliseconds at 30mA)
- Charger communication with the car (if you’ve got the car on site, we plug it in and verify charging starts)
All results go on the installation certificate. You get a copy. We keep a copy. If there’s an insurance claim or a fault in five years, that certificate proves the install was compliant on day one.
Then we commission the charger. If it’s a smart unit (most are now), we connect it to your WiFi, register it with the manufacturer’s app, and walk you through the controls. If it’s OZEV-funded, we confirm it’s connected to the back-office system that tracks energy usage for the grant compliance.
Handover and Cleanup
We don’t leave a mess. Dust sheets go down before we drill. Debris gets bagged and taken away. If we’ve cut through render or brickwork, we make good, pointing, sealing, painting if needed. If we’ve lifted paving slabs, we relay them level.
Then we show you how to use it. How to start and stop a charge. How to schedule charging for off-peak hours (important if you’re on Economy 7 or Octopus Go). How to check the app. How to reset it if it ever freezes. Takes ten minutes. We don’t rush it.
You get:
- The installation certificate (EIC) signed by the qualified electrician
- The charger’s user manual and warranty card
- Details of the manufacturer’s app and any access codes
- Our contact details for any follow-up questions
We notify the DNO (distribution network operator) of the new load. That’s a legal requirement for installations over 3.68kW. We handle it, not you.
Typical Timelines: What to Expect
Here’s what we see most often across North and East London, and Essex:
| Scenario | Time on Site |
|---|---|
| Simple install: charger on external wall, board directly behind, 5m cable run | 2, 3 hours |
| Standard install: charger on garage wall, board in house, 10, 15m cable run through loft | 3, 4 hours |
| Complex install: long run, trunking across facade, older property, board upgrade | 5, 6 hours |
| Underground run to detached garage: trenching, ducting, SWA cable, 20m+ | 6, 8 hours (sometimes split over two days) |
We don’t clock-watch. If it takes an extra hour to do it right, that’s what it takes. You’re not paying by the hour, you’re paying for a compliant, safe, long-lasting installation.
What You Need to Do on the Day
Not much. Clear the driveway so we can park the van close to the work area. Move anything stored against the wall where the charger’s going. If we’re working inside (running cable through a garage or utility room), clear a path.
Be available for questions. We might need to confirm a detail or show you an option we’ve found during the install. If you’re out, make sure someone’s home who can make decisions.
If you’ve got the car, have it on site for the final test. Not essential, but it lets us verify the charge cycle completes properly. If you’re collecting the car next week, we’ll test with a standard plug-in load and you can verify with the car yourself later.
After We Leave
Plug in. Charge. Drive. That’s it. The charger’s live as soon as we hand over. If it’s a smart unit, you might want to spend an evening exploring the app settings, scheduling, energy monitoring, load balancing if you’ve got solar panels.
If anything’s not right, call us. A loose trunking clip, a cosmetic touch-up we missed, a question about the app, we’ll sort it. Most installs are completely trouble-free, but we’re not vanishing the moment we pull away.
Bottom line: Most EV charger installs take between two and four hours from arrival to handover. Longer runs, older properties, or board upgrades stretch that to a full day. You’ll have no power for part of it, the house will be a bit dusty for an hour, and then you’ll have a fully functional charging point that’ll outlast the car you’re plugging into it. Plan for half a day, and if we’re done quicker, you’ve got your afternoon back.
Need help with this in London or Essex?
Stern MEB is an OZEV-approved, NICEIC-certified electrical contractor based in Woodford Green. We cover home, workplace and commercial electrical work across London and Essex.
Book Your EV Charger Installation
We're OZEV-approved installers covering London and Essex, survey, install, certify, and hand over in one visit.
- Free site survey
- Fixed-price quote
- NICEIC certificate
- 12-month warranty
Book a free site survey
London & Essex · same working day response


